
How to Use a Handheld Laser Marking Machine for Metal Parts
Practical B2B tutorial
A handheld laser marking machine can solve traceability, logo, serial number and maintenance-identification tasks on metal parts without committing every project to a large enclosed workstation. But the handheld format only works well when setup discipline, part restraint, parameter boundaries, focus control and inspection rules are already defined before production starts.
This guide is written for distributors, workshop teams and industrial buyers who need a real operating sequence for metal parts. It covers preparation, parameter boundaries, operating steps, quality checks, shutdown and safety. It does not invent universal speed tables, fixed watt recommendations or one-size-fits-all settings, because the correct recipe still has to be proven on the actual material and mark requirement.
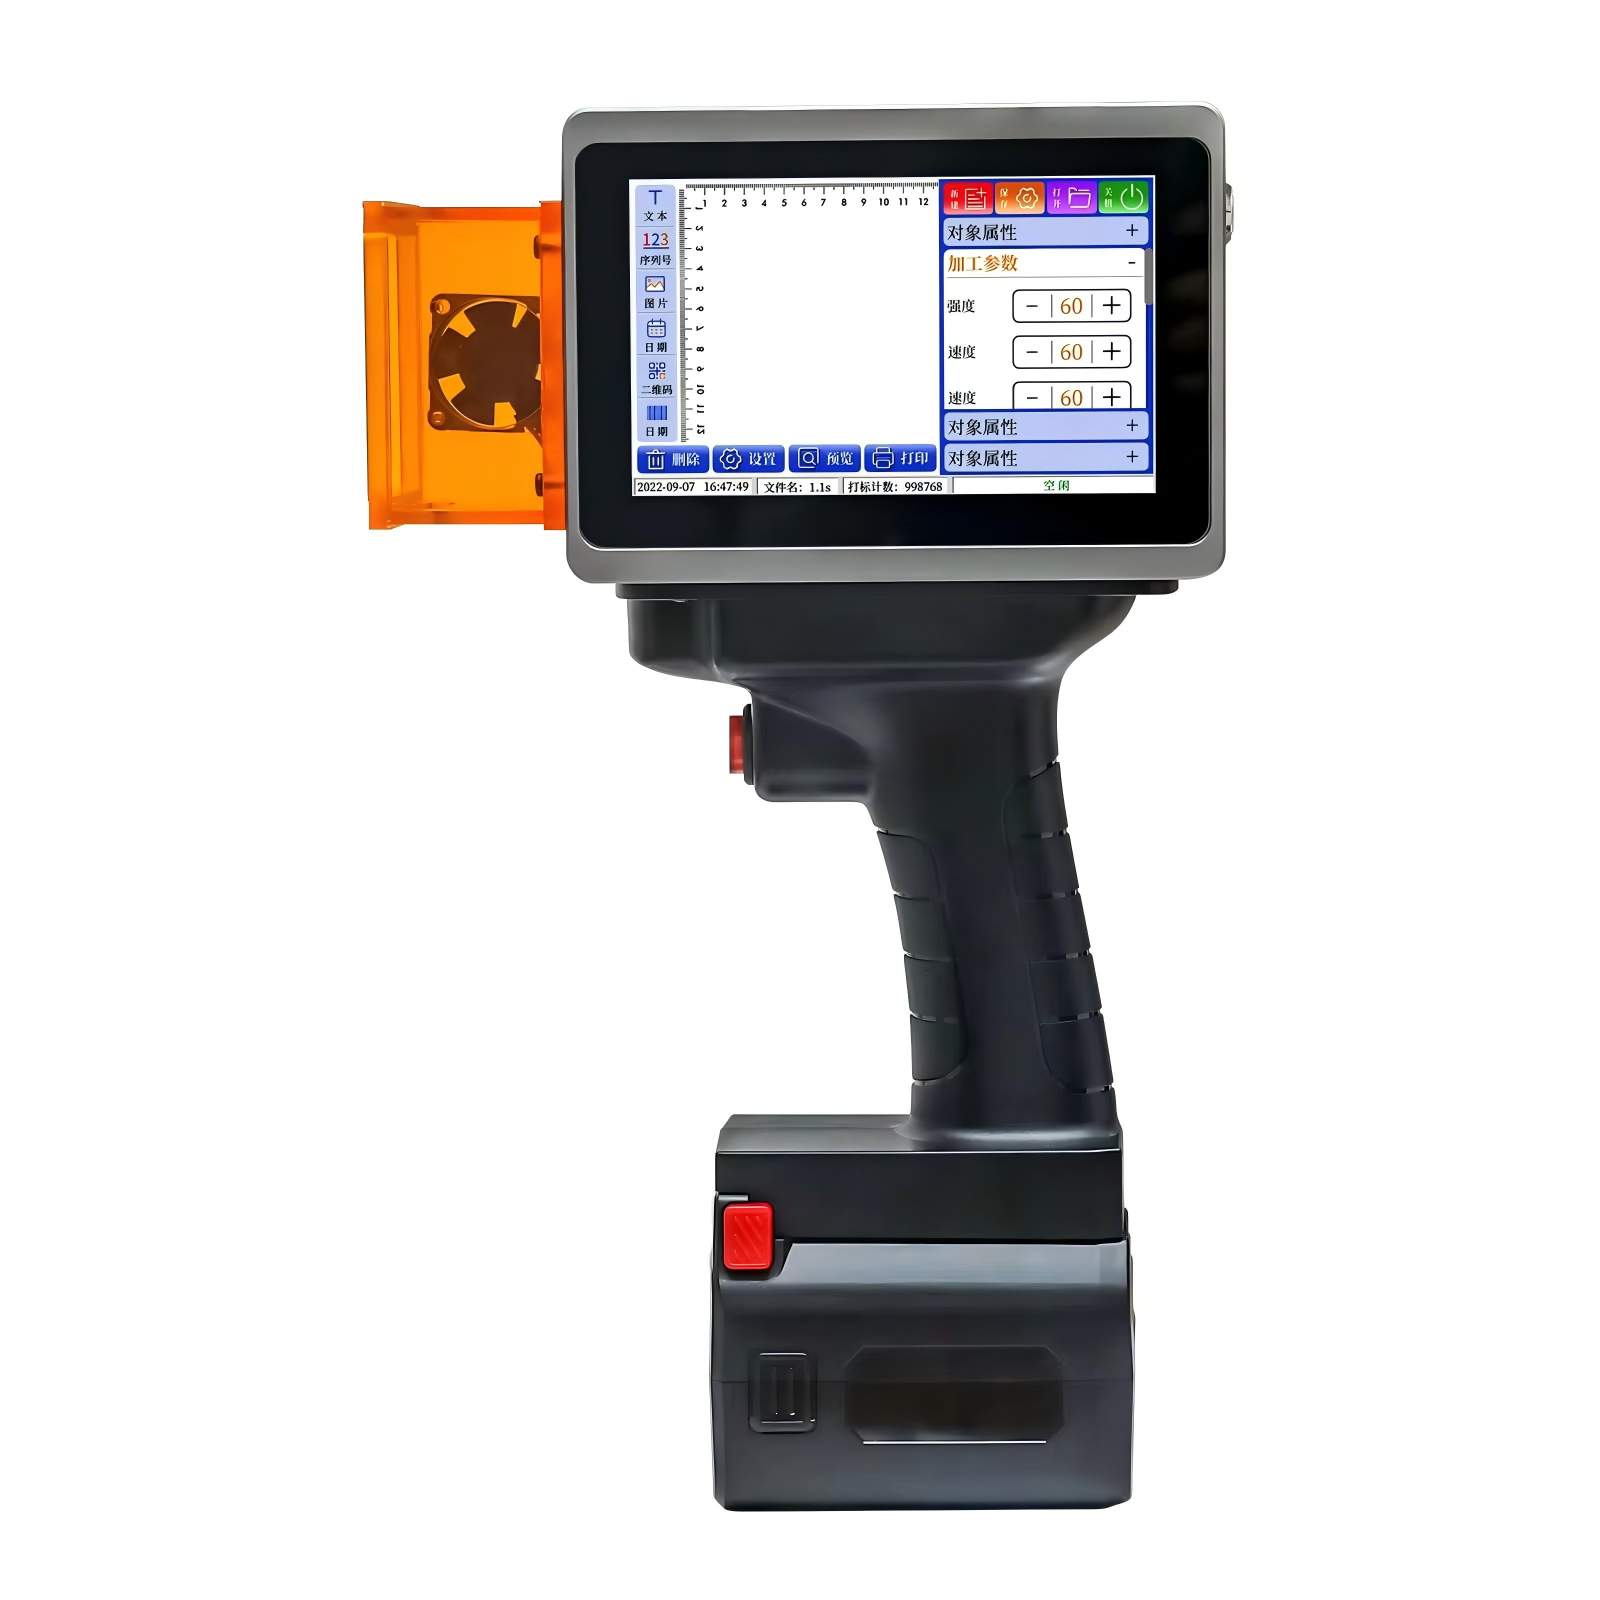
Preparation Before the First Mark
Preparation decides whether handheld marking becomes a controlled process or a series of avoidable corrections. Before powering up, confirm the part material, surface condition, mark content, mark size, required contrast or depth, reading method, and the exact area that may or may not be marked. Stainless steel data plates, painted housings, machined carbon steel blocks and curved cylinders do not respond in the same way even when the same machine is used.
- Confirm the metal type, coating status and the real reason for marking: traceability, branding, compliance, process tracking or service identification.
- Fix the part so the operator does not have to fight movement while trying to hold focus and alignment at the same time.
- Check the optics path, protective window, lens cleanliness, cable routing and extraction or fume-capture path before energizing the system.
- Prepare the code or text content in the correct size and verify that the required scanner, operator or downstream customer can actually read it.
- Define the acceptance boundary before testing: visual contrast, depth, edge crispness, distortion, heat tint, or scanner readability grade.
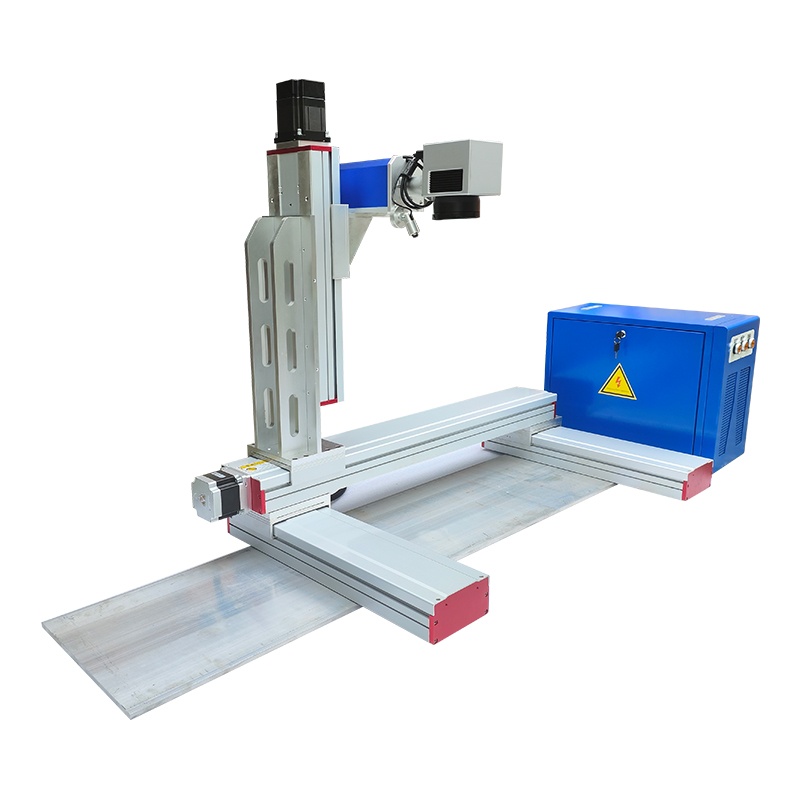
Parameter Selection Boundaries
Most production problems come from asking for a single correct setting instead of defining a safe operating window. On metal parts, mark quality depends on alloy, surface finish, contrast target, code size, focus condition, line spacing, overlap strategy, motion stability and heat accumulation. The correct boundary for dark contrast on stainless steel is not the same as the boundary for readable surface marking on plated parts or deeper permanent identification on a curved workpiece.
| Decision area | What it changes | Boundary to watch |
|---|---|---|
| Energy density and mark aggressiveness | Contrast, surface reaction, edge cleanliness and any visible heat tint | Stop increasing aggressiveness once the part shows unwanted melting, discoloration, burr-like edge effects or customer-unacceptable surface change. |
| Focus condition and stand-off consistency | Line sharpness, legibility and process stability across the mark area | Do not treat a drifting handheld distance as a small issue. Focus inconsistency quickly becomes unreadable codes or nonuniform contrast. |
| Fill strategy, line spacing and travel rhythm | Mark time, code fill quality and visible banding or striping | Avoid settings that look acceptable on a tiny sample but leave incomplete fill, rough edges or inconsistent darkness on the full code. |
| Single-pass versus controlled repeated passes | Depth, visual stability and operator rework rate | Prefer a repeatable multi-pass process if one aggressive pass risks part damage or unstable readability. |
The most reliable method is a three-zone sample test: easiest area, normal area and hardest area. Record which settings preserve readability and edge quality across all three. For projects that compare different permanent-mark methods, also review the dot peen versus laser marking comparison before promising one technology to every metal part program.
Step-by-Step Handheld Marking Sequence
- Power up the machine and any required extraction or support devices in the correct order from the approved machine procedure.
- Load the prepared content, then verify the text, serial format, code size and orientation on a non-critical sample or reference plate.
- Secure the metal part and establish the operator position so the marking head can move deliberately instead of being dragged by cable tension or body reach.
- Run a short sample mark on a representative test area. Check readability, contrast, spacing and any heat effect before moving into production parts.
- Mark in a controlled sequence with planned alignment references, especially on curved or irregular parts where drift accumulates quickly.
- Pause at defined intervals to re-check the optics window, fixture condition and sample readability instead of waiting for the full batch to reveal drift.
- If the result degrades, choose between fixture correction, focus correction, content scaling or a narrower parameter window. Do not jump straight to the most aggressive recipe.
Handheld marking is still a process, not a freehand art project. Good results come from repeatable setup, fixed viewing angles, known boundaries and quick inspection loops between parts or lots.
Quality Checks During Production
Quality control belongs inside the marking cycle, not only at the end of the order. The goal is to catch drift while only one or two parts are at risk, not after dozens of identical defects have already shipped down the line.
- Check readability under the same lighting or scanner conditions that the customer or downstream station will use.
- Inspect edge quality, fill consistency, contrast, unintended heat tint and the position of the mark relative to the drawing or fixture reference.
- For curved or heavy parts, confirm that the fixture has not loosened and that the operator is not compensating with unstable hand posture.
- Keep a simple production note for repeat jobs: part material, accepted sample, code size, approved parameter window and any exceptions that required rework.
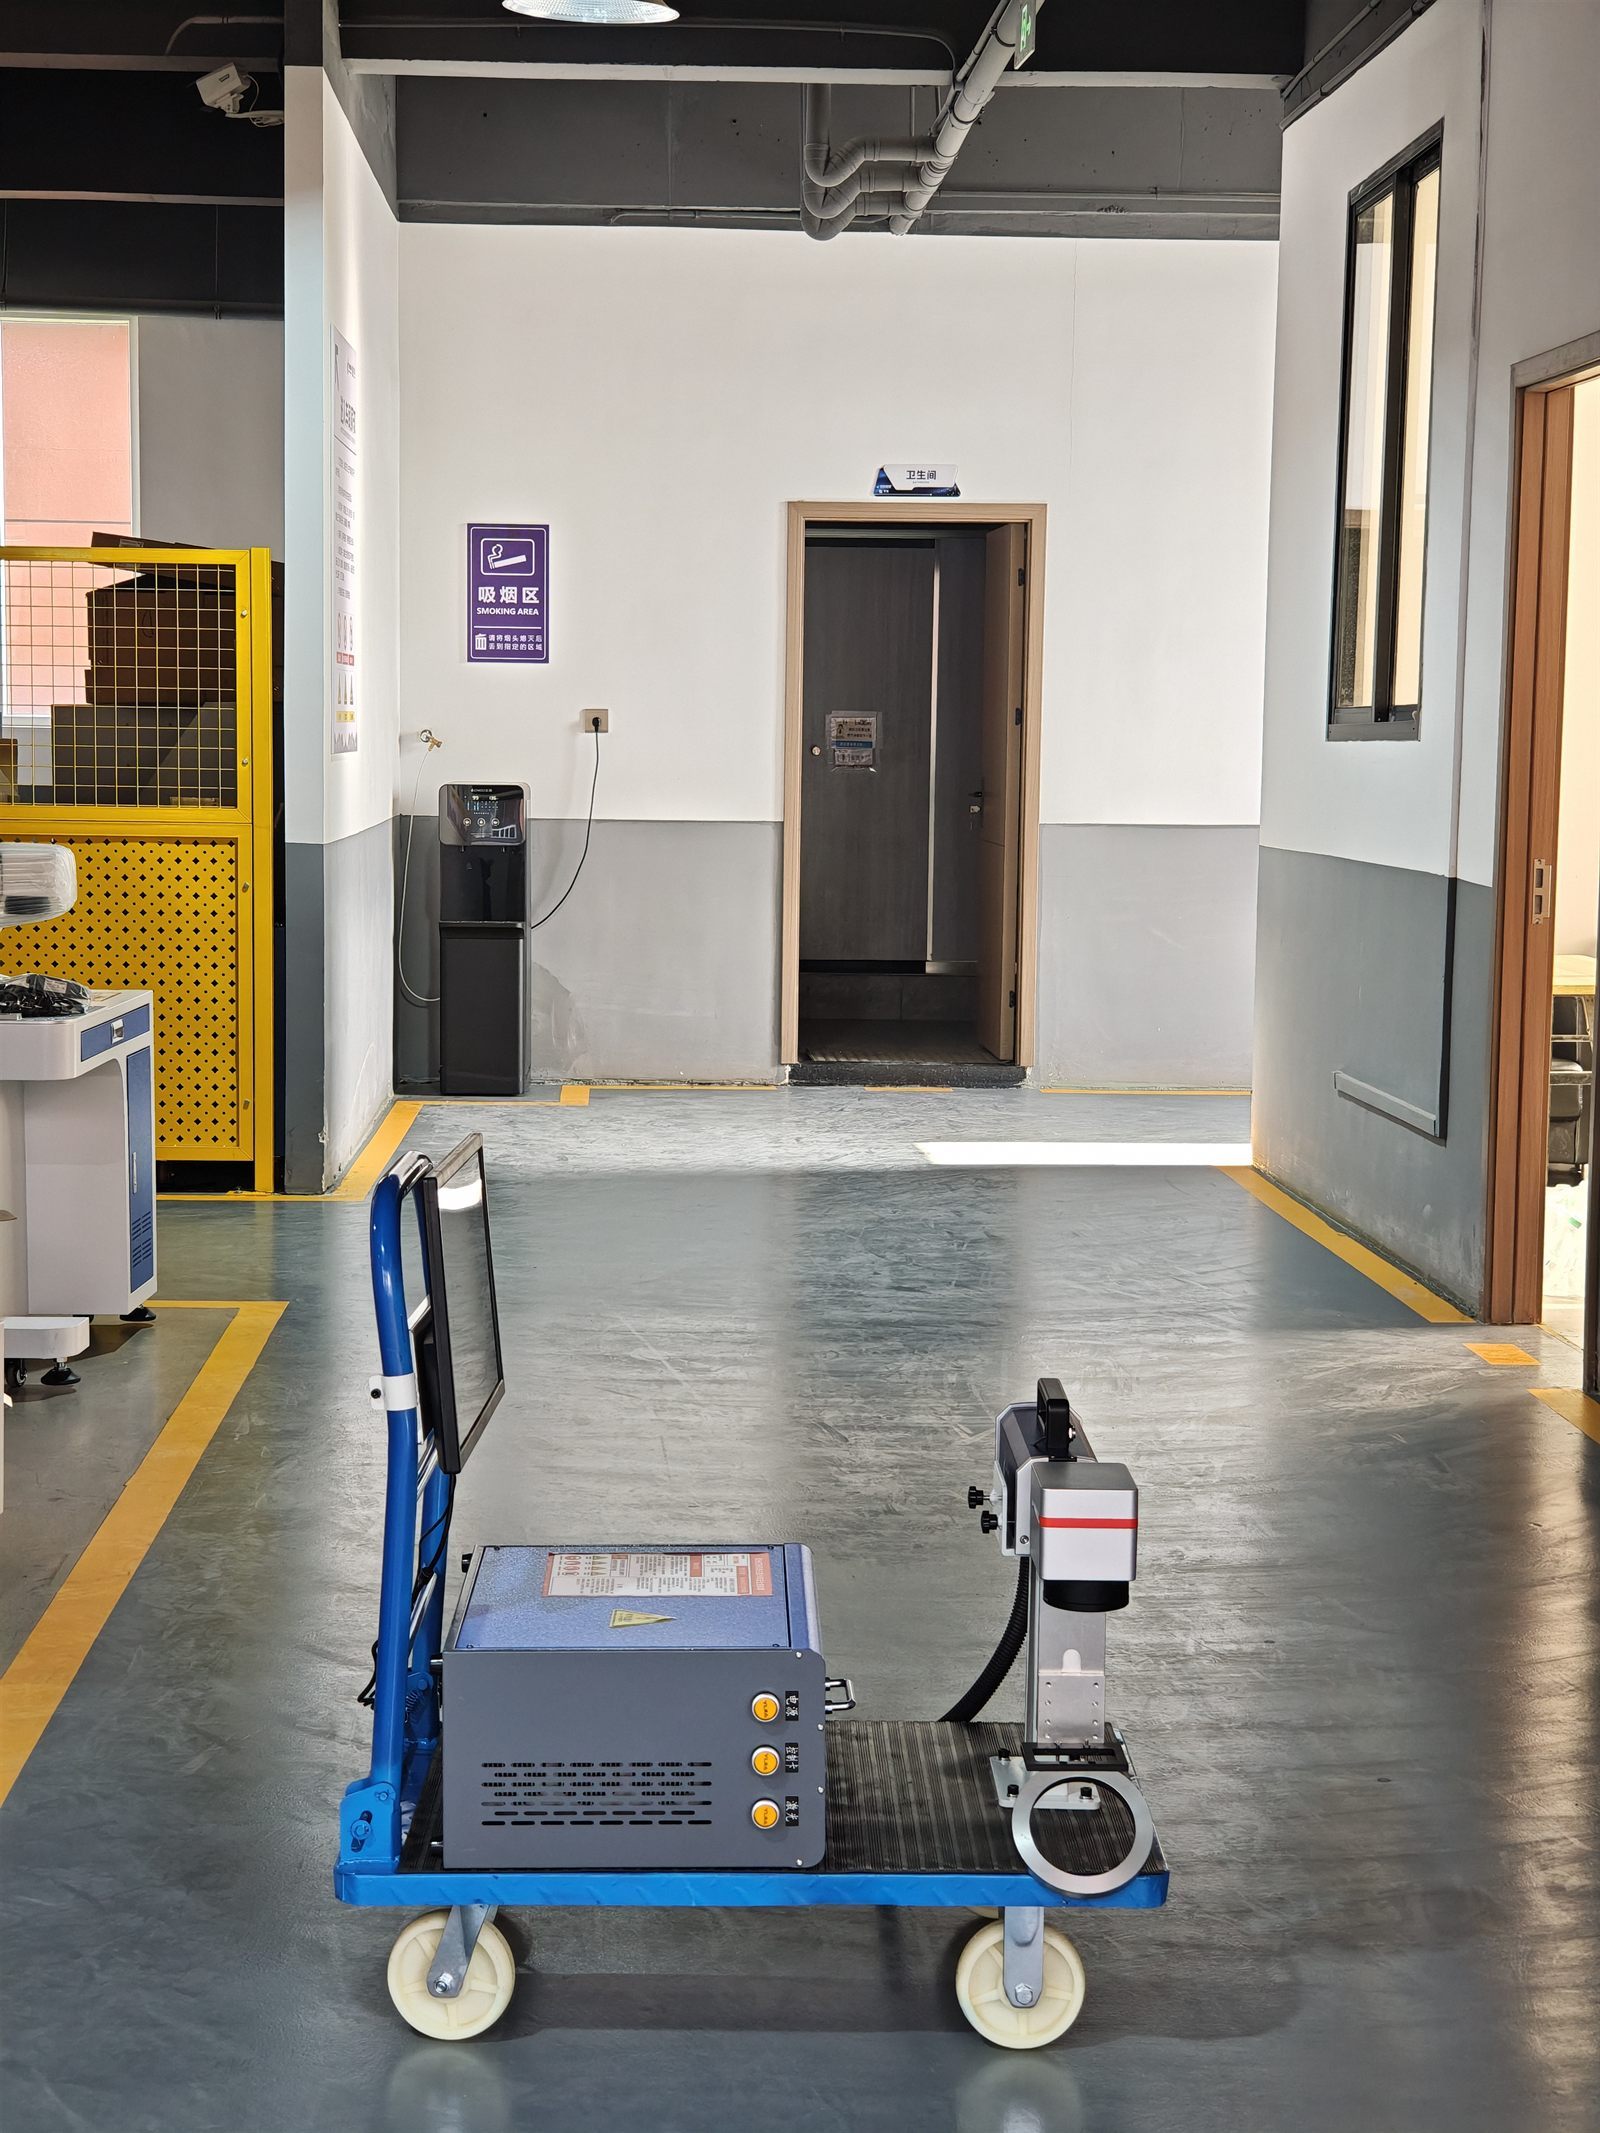
When the mark must survive painting, galvanizing, shot blasting, chemical exposure or outdoor use, the quality check should reflect that downstream reality. A mark that looks dark at the station but fails the later process is not a successful mark.
Shutdown and Post-Job Care
Shutdown is part of machine protection and repeatability. Once the batch ends, remove debris from the work area, inspect the optics path and return the handheld head to a safe rest state before cutting power. Shortcuts during shutdown often show up later as unstable starts, dirty windows or avoidable troubleshooting time.
- Finish the active mark sequence and confirm the head is in a safe, stable position.
- Inspect the protective window and visible optical surfaces for residue before the next shift inherits the problem.
- Follow the approved power-down order, especially if the station includes external extraction or support hardware.
- Record any alignment drift, readability complaint, fixture issue or alarm state before the next production run begins.
- Store the head and cable to avoid impact, twisting and dust loading between jobs.
Shutdown discipline is a real cost control: it reduces avoidable service calls, optics replacement and part-to-part inconsistency that can make a handheld system seem unreliable even when the root cause is process handling.
Safety Rules That Should Not Be Skipped
Laser marking safety is not only about eyewear. Reflection control, part restraint, bystander access, fume capture, cable management and the operator stance all matter. A handheld unit introduces motion, and motion increases the chance of losing control of the process window if the work zone is poorly organized.
- Use the correct PPE and access control for the delivered laser configuration and the site rules that apply to it.
- Keep reflective loose items out of the immediate work zone and do not let bystanders stand inside the active process area.
- Do not operate through smoke buildup or poor extraction visibility when the process creates plume or fine particulate.
- Protect cable routing and footing so the operator motion stays deliberate instead of reactive.
- Stop immediately if the part response, reflection behavior or fixture stability moves outside the approved sample result.
CTA: Send the Real Part Before Finalizing the Recipe
If you are planning serial numbers, logos, Data Matrix codes or service marks on steel, stainless steel, aluminum or plated metal parts, start with the CNMarking laser marking machine category and review a real handheld product reference such as the battery powered handheld fiber laser marker. Then send your part photos, drawing area, code requirement, readability target and daily output through the contact page.
CNMarking can help determine whether the job fits a handheld solution, a benchtop fiber station, a dot peen route or a more integrated marking cell. A sample-based recommendation is safer than copying an online settings list from another factory.
Frequently Asked Questions
Can I copy handheld laser marking settings from a different metal part?
No. Even when the same machine is used, mark contrast, heat tint, depth and cycle stability change with alloy, coating, surface finish, code size, fixture rigidity and acceptance criteria. Use sample testing on the real part.
What should be fixed before the first handheld marking test?
Confirm the material, code content, mark size, readability target, fixture stability, focus setup, extraction path, protective window condition and the no-mark or no-damage zones before the first trigger pull.
When should a buyer switch from handheld marking to a benchtop or integrated station?
Move away from handheld marking when throughput, repeatability, scanner verification, operator fatigue, part positioning or enclosure requirements become the real production bottleneck.
How should I compare handheld laser marking with dot peen for a metal part project?
Compare them on required contrast, permanent depth, part geometry, cycle rhythm, post-process readability, consumables, fixture complexity and the marking standard your customer must pass.