
How to Use a Handheld Laser Cleaning Machine Safely: Setup to Shutdown
Practical B2B tutorial
A handheld laser cleaning machine can remove rust, paint, oxide, oil film and surface residue with much less secondary waste than blasting or chemical stripping. But safe, repeatable cleaning depends on setup discipline, parameter boundaries, extraction, operator movement and quality checks, not on copying a universal parameter table.
This guide is written for industrial teams, distributors and workshop operators who need a real operating sequence from preparation to shutdown. It avoids invented machine speeds, universal settings or price claims. The final recipe must still be proven by sample testing on the actual material and contamination.
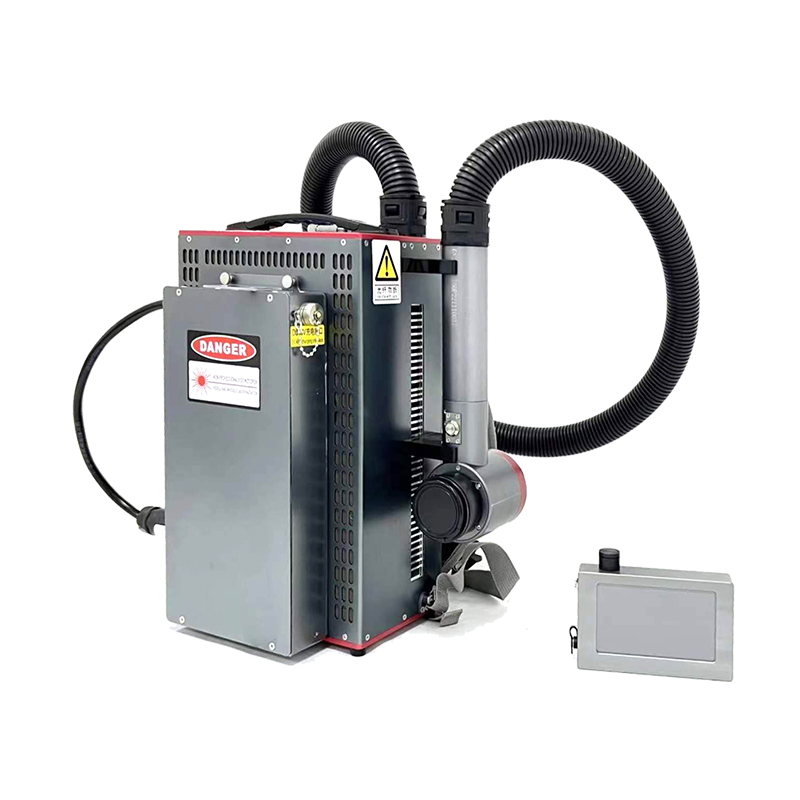
Preparation Before the First Cleaning Pass
The preparation stage decides whether the rest of the shift is controlled or chaotic. Before powering up, confirm the base material, contamination type, target finish and no-damage zones. Rust on structural steel, selective paint removal on coated parts, oxide cleaning before welding and mold cleaning all have different heat-input tolerance and inspection standards.
- Confirm the substrate and contamination. Ask whether the goal is full removal, selective stripping, weld preparation or cosmetic cleanup.
- Check the surface condition with photos or a sample part. Mixed contamination often needs a broader sample-test range than clean, uniform rust.
- Inspect the machine body, cables, protective window, nozzle area, cooling status and extraction connection before energizing the system.
- Prepare a safe work zone with controlled reflections, stable part support, cable routing and operator movement space.
- Set the inspection standard in advance: visual cleanliness, residue limit, coating edge control, roughness change, downstream weldability or adhesion.
Parameter Selection Boundaries
Operators often ask for a single “correct” setting. In practice, the safer method is to define boundaries and then narrow the window through sample testing. The correct parameter range depends on substrate sensitivity, contamination thickness, finish target, cleaning head distance, overlap, travel rhythm and heat accumulation over time.
| Decision area | What it changes | Boundary to watch |
|---|---|---|
| Energy delivery and process aggressiveness | Removal depth, pass count and substrate impact | Stop increasing aggression once discoloration, excess roughening or coating-edge damage appears. |
| Scan width, overlap and hand motion | Coverage consistency and striping risk | Avoid leaving visible lanes, untreated islands or repeated heat stacking in one area. |
| Stand-off distance and angle | Spot shape, effective energy density and debris throwback | Do not drift far enough to lose control of cleaning uniformity or close enough to overload optics contamination. |
| Pass strategy | Whether the job is handled in one aggressive pass or several controlled passes | Prefer repeatable multi-pass cleaning if a single pass threatens the substrate or edge quality. |
The fastest learning path is a three-zone sample test: light, expected and worst-case contamination. Record what changes when you widen the scan, slow the motion, tighten overlap or increase process intensity. Treat any supplier parameter table as a starting reference, not as permission to skip sample validation.
If the team is comparing process styles, review continuous versus pulsed laser cleaning before freezing the operating recipe. Heat-sensitive parts, fine edge control and precision cleanup often push the decision in a different direction from bulk cleaning.
Step-by-Step Operating Sequence
- Power up the machine and supporting extraction or cooling equipment in the correct order from the machine manual or site SOP.
- Secure the part so the operator does not need to fight movement while guiding the handheld head.
- Run a short sample on a representative area, not on the final cosmetic face unless that is the only valid test zone.
- Check the first pass for cleaning response, reflection behavior, smoke extraction and substrate appearance before continuing.
- Work in controlled lanes with a steady hand path and planned overlap. Do not improvise random arcs once the process is already stable.
- Pause at planned intervals to inspect the protective window and debris behavior instead of waiting until visibility collapses.
- If residue remains, choose between an additional controlled pass, a parameter adjustment or a process review. Do not force removal by jumping straight to the most aggressive setting.
Handheld cleaning is still a process, not a freehand tool. Good operators build a rhythm: test, inspect, clean in lanes, inspect again, then document what changed between lots or materials.
Quality Checks During Cleaning
Quality control should happen during the job, not only after the part is finished. The goal is to catch drift before the operator repeats the same defect across an entire batch.
- Check cleaned areas under stable light for residue shadows, edge damage, rainbow discoloration, excess roughness or inconsistent striping.
- Confirm that the cleaned surface still meets the downstream requirement for coating, bonding, welding or cosmetic acceptance.
- Monitor debris extraction and optics contamination. If visibility drops, stop and correct the cause before the machine keeps running blind.
- For repeat jobs, keep a simple job record: substrate, contaminant, accepted sample zone, parameter window note and inspection result.
When the cleaned part will be welded, painted or bonded later, the quality check should be tied to that next process. A surface that looks clean but fails adhesion or weld stability is not actually accepted.
Shutdown and Post-Job Care
Shutdown is part of machine protection. Once the last part is finished, remove debris from the work area, inspect the head and follow the correct power-down order. On cooled systems, avoid shortcut shutdown habits that trap heat or moisture in the wrong state.
- Stop the active cleaning process and return the head to a safe rest position.
- Inspect the protective window, nozzle area and cable path before powering down.
- Follow the machine and cooling-system shutdown order exactly as defined by the supplier or local SOP.
- Record any abnormal residue, optics contamination, alarm pattern or instability before the next shift inherits the problem.
- Store the head and cable in a way that avoids impact, twist stress and dust exposure between jobs.
Good shutdown discipline reduces the hidden costs that often make a handheld system feel “unreliable” later: window replacement, unstable starts, avoidable alarm time and inconsistent next-shift quality.
Safety Rules That Should Never Be Skipped
Laser cleaning safety is not only about eye protection. Reflections, smoke extraction, cable routing, operator stance and bystander control all matter. A handheld unit introduces motion, and motion creates more ways to lose control of where the beam, reflection or debris is going.
- Use the correct PPE and site access control for the laser class and process environment.
- Keep bystanders outside the controlled area and remove reflective loose items from the immediate work zone.
- Do not operate without working extraction when the process generates visible smoke or coating residue.
- Protect cable routing and operator footing so the hand path stays deliberate instead of reactive.
- Stop immediately if the part condition, reflection pattern or substrate response changes beyond the approved sample result.
CTA: Send the Real Part Before Finalizing the Recipe
If you are choosing a handheld cleaning workflow for rust removal, paint stripping, weld preparation or mold maintenance, start with the CNMarking laser cleaning machine page. Then send photos of the actual part, contamination description, no-damage zones and target finish through the contact page.
CNMarking can help decide whether the job fits a handheld unit, a pulsed recipe, a continuous system or a more fixed production setup. A sample-based recommendation is safer than copying a generic settings table from another factory.