
Dot Peen vs Laser Marking for Metal Traceability
Metal traceability comparison
Dot Peen vs Laser Marking for Metal Traceability
Dot peen and laser marking are both widely used for industrial identification, but they solve different traceability problems. Buyers comparing them usually care about more than a mark looking good on the day of shipment. They need to know whether the code will still read after paint, abrasion, oil, outdoor exposure, heat, cleaning and real handling on the customer side.
This B2B comparison focuses on the practical selection boundary: material fit, indentation versus contrast, code size, scanner reliability, takt discipline, maintenance burden, cost inputs, inspection checkpoints and safety. It intentionally avoids invented machine specifications, universal cycle times or one-size-fits-all parameter advice, because those values depend on the actual metal, finish, fixture and traceability rule.
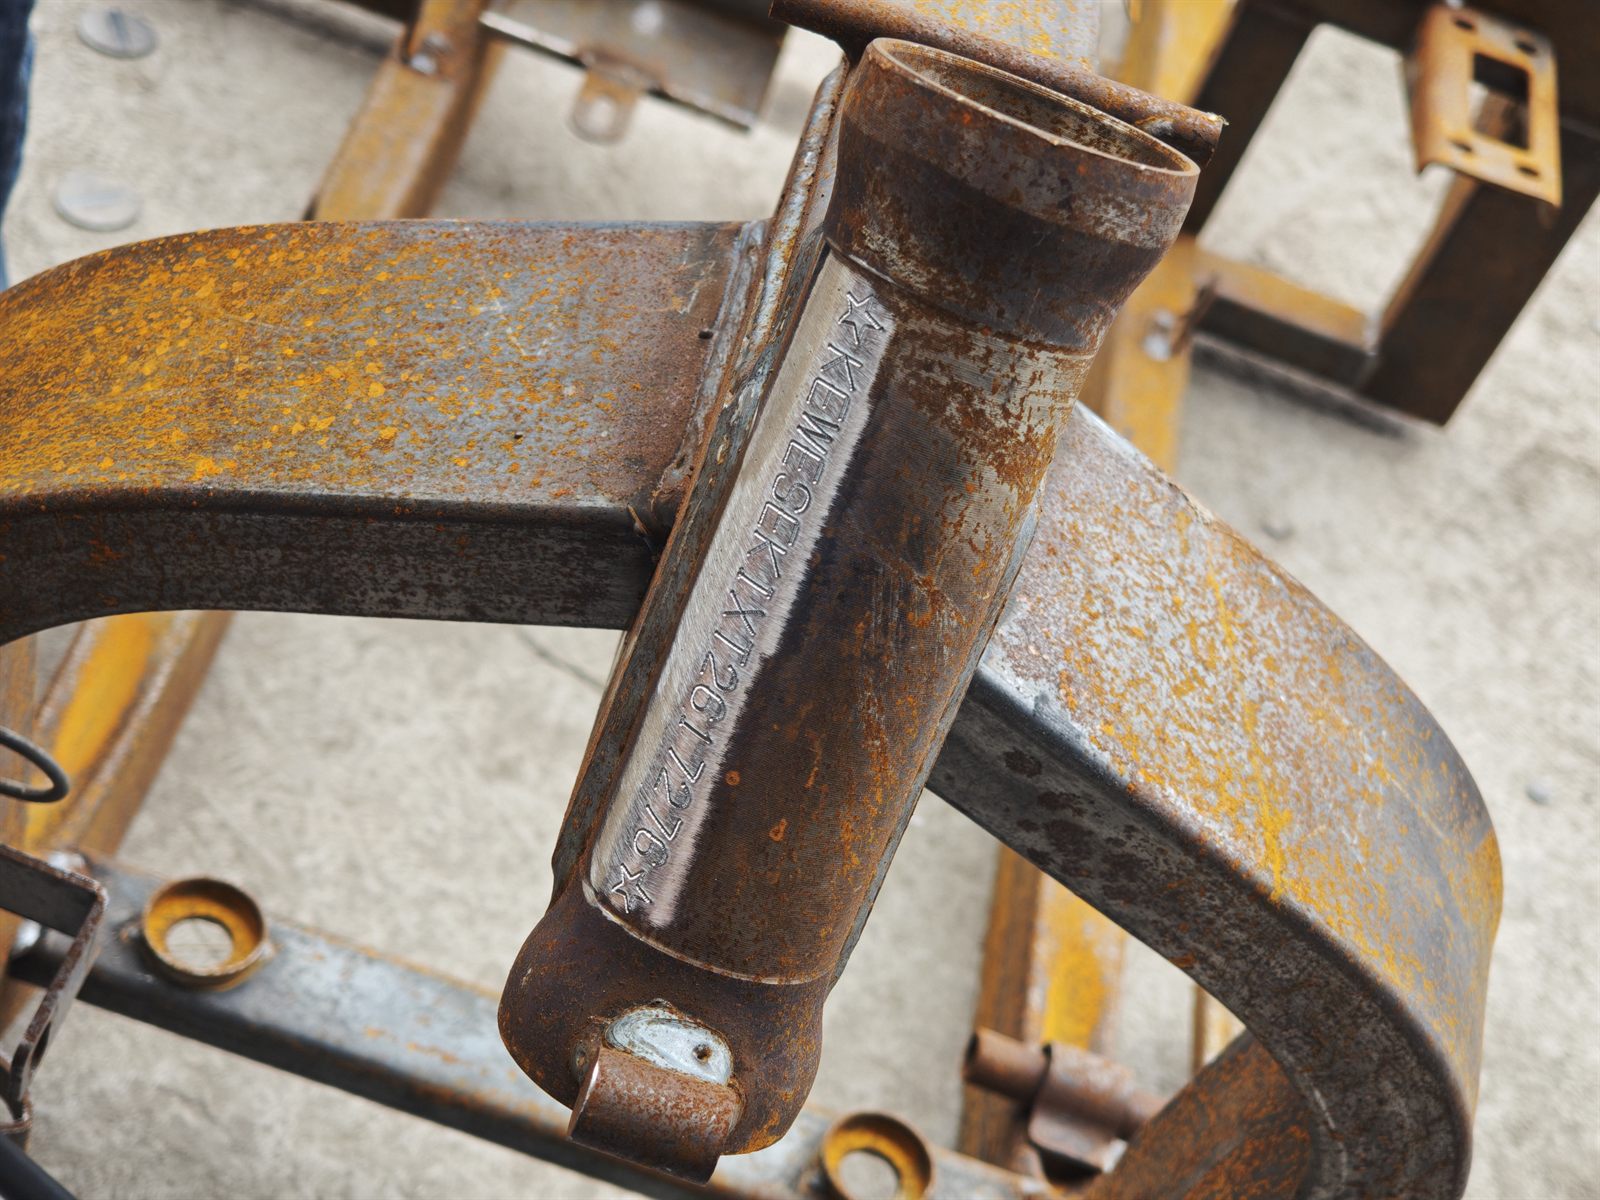
- Which metal parts and finishes are a natural fit for dot peen versus laser marking?
- When is physical depth more important than clean visual contrast?
- What sample inputs must be collected before choosing parameters or approving a quote?
- How do takt, fixture style and scanner requirements change the best choice?
- Which maintenance and cost inputs matter more than the machine headline price?
- What quality and safety checks should be defined before production release?
1. Prepare The Real Job Inputs Before Comparing Methods
The first mistake in this comparison is evaluating a mark on a simple coupon while the real job is a coated casting, forged bracket, chassis component, tube, flange or mixed-finish assembly. Industrial buyers should define the part material, hardness, surface finish, available mark area, code content, required permanence and scanner rule before asking whether dot peen or laser marking is better. Without those inputs, a trial can favor the method that looks attractive on a flat sample but fails when the production part has curvature, oil, heat tint, coating, vibration or tight access.
- List the actual metal family and condition: carbon steel, stainless steel, aluminum, plated metal, painted metal, forged surface, cast surface or heat-treated part.
- Define the mark content clearly: serial number, VIN-like character string, date code, logo, QR code or Data Matrix.
- Show the allowed mark area and any no-touch zones near sealing faces, cosmetic surfaces, weld edges or functional fits.
- State the durability rule: survive repaint, survive outdoor abrasion, remain visible after oil exposure, remain scannable after heat or remain readable after blasting and washing.
- Record the production pattern: offline bench cell, inline fixture, robotic handling, field marking, heavy structure marking or repair traceability.
- Note the inspection rule: operator visual check, camera verification, scanner grade target, customer audit photo or downstream ERP traceability record.
These inputs matter because dot peen is usually stronger when the customer needs physical depth and mechanical persistence, while laser marking is usually stronger when the customer needs neat contrast, tighter geometry or non-contact operation. The buyer should therefore compare the real part family and validation rule, not only the supplier's preferred demo.
2. Compare Surface Results, Materials And Operating Inputs Side By Side
| Comparison point | Dot peen marking | Laser marking | Why buyers should care |
|---|---|---|---|
| Applicable materials and geometry | Often chosen for steels, heavy fabricated parts, castings, forgings, frames, pipes and components where an indented mark is acceptable. | Often chosen for metals and coated parts where the buyer needs cleaner visual contrast, smaller characters, finer 2D codes or non-contact marking. | The right choice depends on whether the part can accept indentation and whether the mark area favors contact or non-contact processing. |
| Depth, contrast and surface effect | Creates a physical indentation that can remain identifiable when surface color changes, but it may not suit thin cosmetic surfaces or parts that cannot accept deformation. | Creates contrast or ablation-based visual identification without mechanical indentation, but heat sensitivity and finish behavior must be checked on the real part. | Some jobs require depth that survives wear; others require a cleaner appearance with less physical disturbance. |
| Code size and readability | Works well for robust text and code content when the available area is reasonable and the scanner rule is compatible with the peened texture. | Often better when buyers need smaller fonts, cleaner logos or tighter Data Matrix geometry on suitable surfaces. | Small code requirements can quickly push the process toward laser, while harsh durability rules can pull the process back toward dot peen. |
| Takt and process rhythm | Takt depends on character count, depth target, fixture rigidity, head travel, part access and whether the mark is done in place or at a station. | Takt depends on contrast target, code size, marking field setup, focus stability, part positioning and verification requirements. | Headline speed claims are weak unless both methods are tested on the same content, surface and inspection rule. |
| Maintenance burden | Requires pin condition checks, impact-head wear monitoring, fixture stability review and regular confirmation that depth and shape stay inside the approved sample window. | Requires optics care, lens protection, fume extraction discipline, parameter control and routine cleaning around the marking cell. | A method that looks easy on day one can become expensive if maintenance drift reduces mark quality or increases rework. |
| Cost inputs | Compare fixturing, pin wear, compressed-air or mechanical support needs, operator setup, part handling and rework risk when depth is inconsistent. | Compare laser source route, optics protection, exhaust and shielding needs, focus control, software workflow and rework risk when contrast is unstable. | The best commercial choice comes from the full traceability workflow, not only the machine purchase price. |

3. Confirm Process Boundaries Before Sample Approval
A useful comparison becomes stronger when the team defines the boundary conditions that force a retest. That is especially important when one part family contains several alloys, coatings or heat-treatment states. Buyers should ask for those boundaries before approving either method for production.
| Boundary to confirm | What the team should review | Reason for the boundary |
|---|---|---|
| Part finish and deformation tolerance | Whether the part has plated surfaces, cosmetic faces, thin walls, sealing zones or customer-visible areas that limit indentation or heat effect. | This determines whether physical peening or thermal contrast creation creates unacceptable risk. |
| Required durability | Whether the mark must survive painting, shot blasting, powder coating, oil, abrasion, salt exposure, machining wash or outdoor service. | Durability expectations often decide whether visual contrast is enough or physical depth is required. |
| Code content and area size | Whether the job uses large serial text, dense Data Matrix content, very small mark windows or curved surfaces with limited fixture access. | Small, dense or curved code zones can make one process more realistic than the other. |
| Verification method | Whether approval is based on human readability, camera reading, scanner grade, indentation depth review or customer traceability audit. | The correct method is the one that can meet the inspection rule repeatedly without hidden operator compensation. |
| Process drift trigger | How the team will react when code quality drops, pin wear changes the character shape, focus shifts, scanner failure rises or the substrate condition changes. | The factory needs a stop-and-check rule before unstable marks start entering the traceability system. |
4. Operating Steps, Quality Checks And Shutdown Discipline
The comparison should be proven through a real operator path, not only a single sample photo. Buyers should ask how each route will be prepared, parameterized, checked and shut down in production so that quality drift becomes visible early.
Preparation
- Confirm the exact part family, mark location, required code content and verification rule before the sample or batch starts.
- Review whether the part can be fixtured repeatably, whether the mark zone is flat enough and whether nearby finished surfaces need protection.
- Define the sample-approval record: photo, code readout, readability check, contrast review or depth check.
During the run
- Run a representative first sample on the real production surface, not only on a polished coupon.
- For dot peen, confirm the mark remains legible without excessive burr, distortion or unstable character spacing. For laser marking, confirm the mark has clean contrast without unacceptable surface discoloration or inconsistent edge definition.
- Watch for changes in fixture stability, part height, code location, scanner result or operator compensation that suggest the process window is drifting.
- If the alloy, finish, coating state or part geometry changes, pause and re-evaluate instead of pushing the same settings through by habit.
Quality check
- Verify the mark against the approved sample, especially code location, character completeness, scanner reliability and the allowed visual or physical depth range.
- Check that the mark remains acceptable after any downstream wipe, oil, coating, cleaning or handling step included in the customer workflow.
- Log recurring operator compensation because repeated manual correction usually means the approved process window is too weak for routine production.
Shutdown and service trigger
- Leave the station in a condition where the next shift can see drift quickly: clean optics or impact area, verify fixture condition and record the last accepted sample state.
- Record scanner failures, pin wear signs, focus issues, heat tint concerns or code-placement drift before the exact cause is forgotten.
- Stop production if the method no longer meets the approved traceability rule without excessive rework, manual correction or unsafe improvisation.
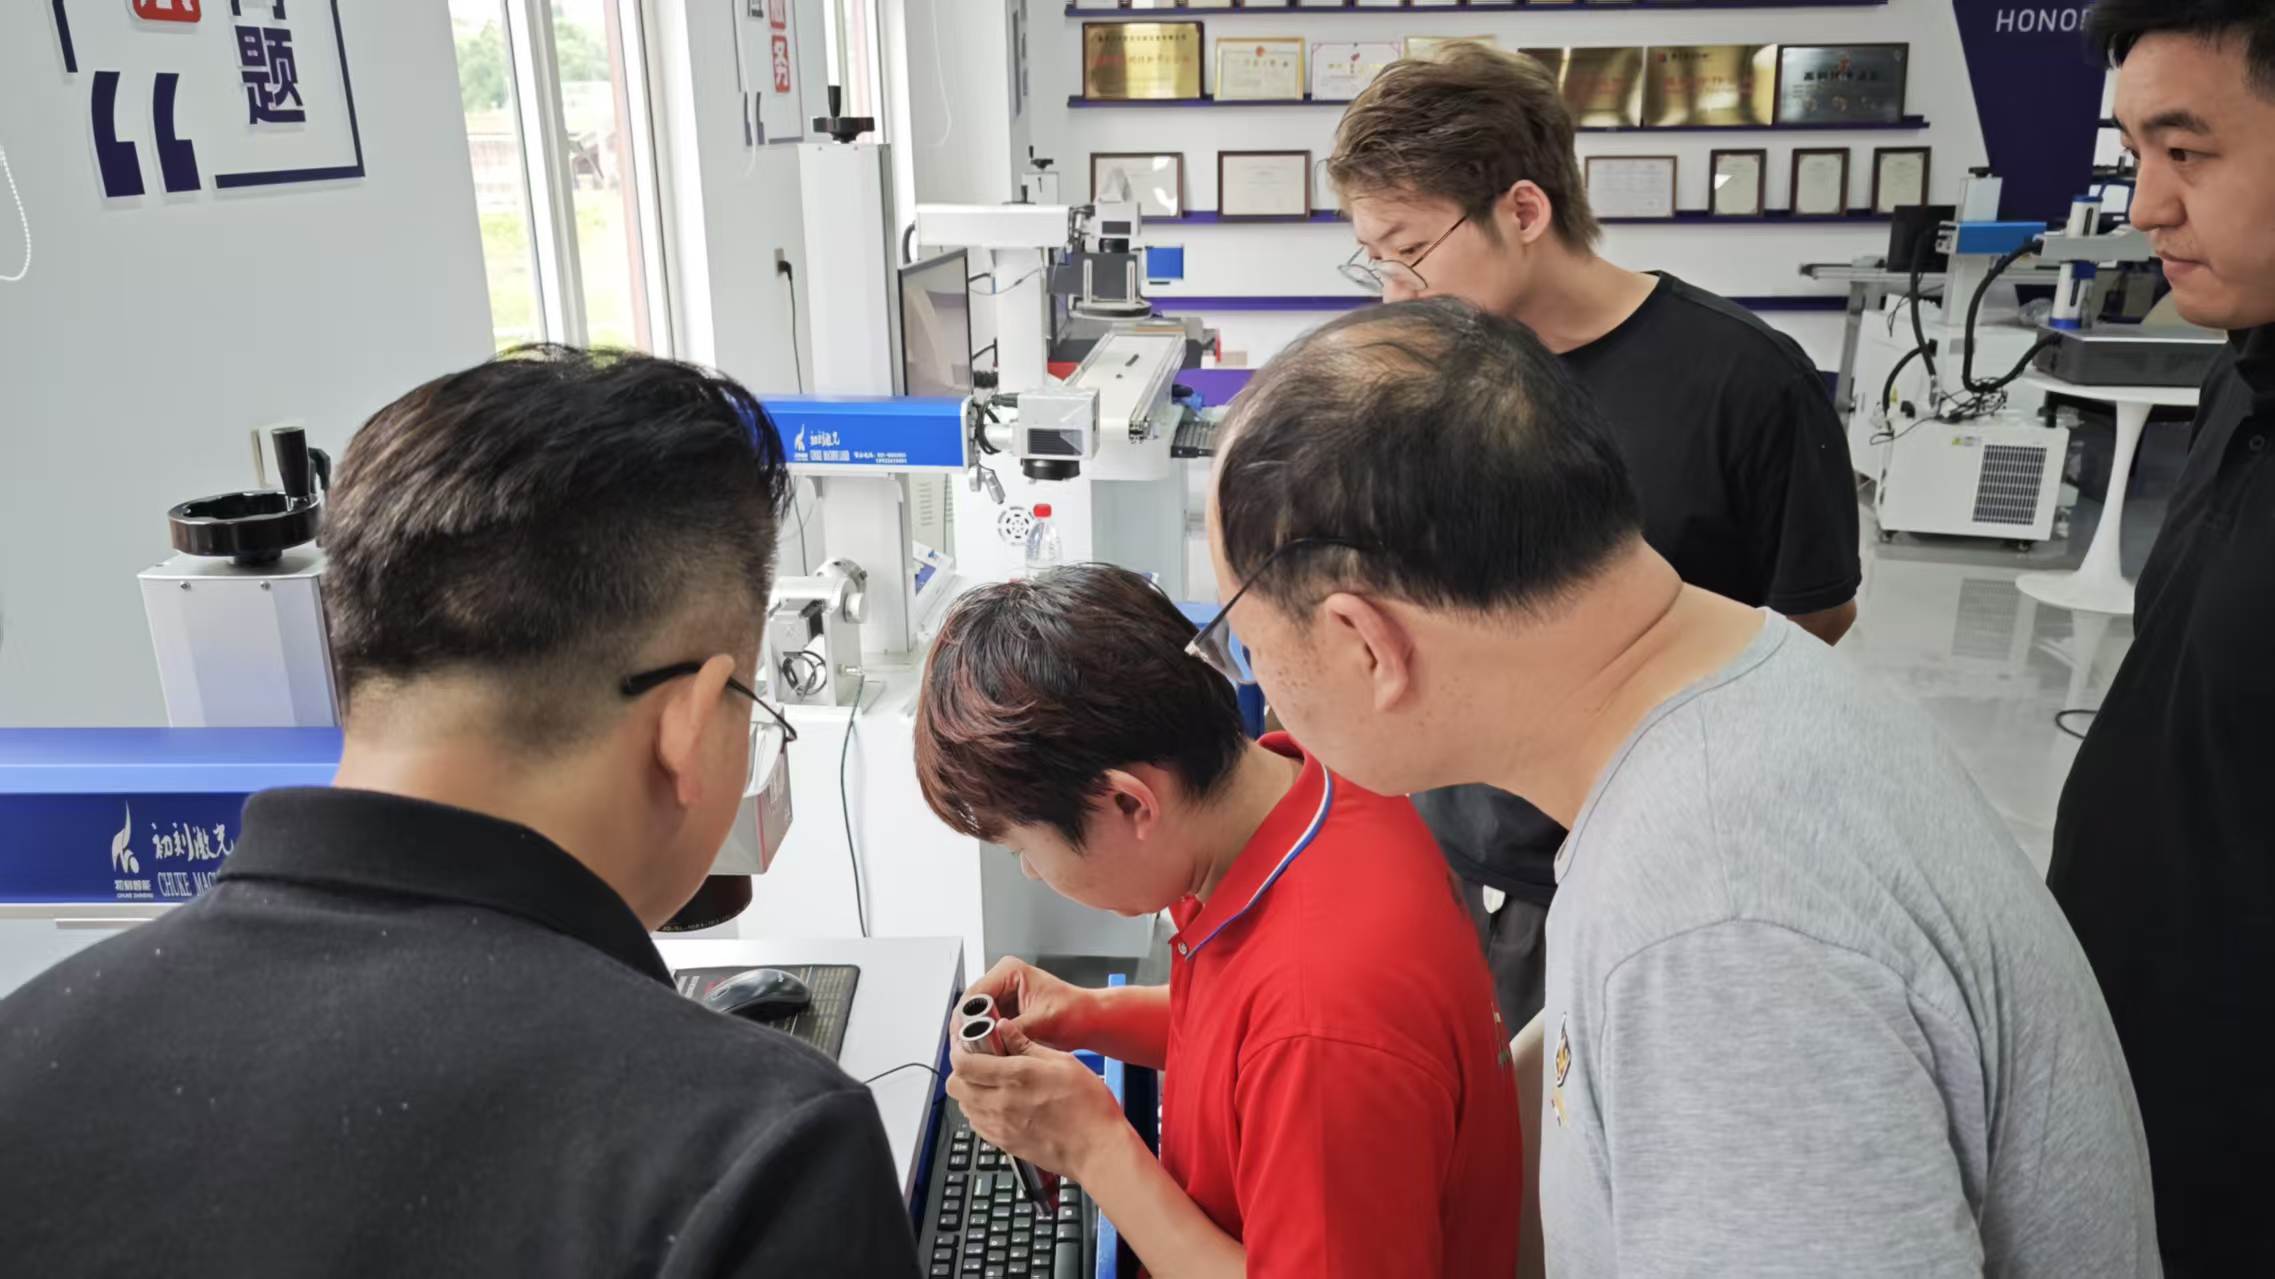
5. Compare Cost Inputs And Downtime Honestly
Procurement discussions should compare the full traceability workflow, not only the machine headline price. For dot peen, buyers should review fixture stability, pin wear, part support, compressed-air or actuation support, character verification and the labor impact of deep durable marks. For laser marking, buyers should review optics protection, fume extraction, software setup, focus control, shielding discipline and how often the process reduces handling or supports cleaner code geometry.
- Count rework risk: the lower-cost route on paper becomes expensive if scanner failures, inconsistent depth or weak contrast create downstream sorting and remarking.
- Count downtime: include pin replacement, fixture checks, optics cleaning, exhaust maintenance and the time needed to regain a stable approved mark.
- Count labor fit: operator training, sample interpretation and verification discipline matter more than a trade-show demo when the job becomes routine.
- Count customer acceptance risk: some buyers prefer physical indentation for harsh service, while others reject indentation on finished surfaces and prefer a cleaner laser result.
Most importantly, compare the total system cost against the real traceability objective. If the part must remain readable after coating loss and rough field use, an indented dot peen mark can save downstream claims. If the part needs small clean codes with less physical disturbance, laser marking can reduce visual rejection and support tighter code density. The best choice is the one that meets the traceability rule with the least unstable compensation.
6. Safety, Sample Approval And Final Selection
Neither method should move into production without a clear approval and safety boundary. The supplier and buyer should agree on what proves the mark is acceptable, what change forces resampling and what trigger stops production before bad traceability data enters the system.
- Use sample approval to define the real acceptable mark result, including readability, durability and scanner outcome, not only the preferred equipment type.
- Re-test when the substrate finish, hardness, coating state, code size or downstream durability rule changes materially.
- For dot peen, confirm guarding, fixture stability and safe handling around moving impact hardware. For laser marking, confirm the required enclosure, eyewear, shielding and fume-control discipline for the real cell.
- Choose the route that the factory can run safely and repeatedly, not only the route that looks sharper in a short demonstration.
CTA: Send The Real Part And Traceability Rule Before Choosing
If you are comparing dot peen and laser marking, send part photos, metal type, mark content, available area, required permanence, scanner or visual inspection rule and the downstream environment. That lets CNMarking recommend the right marking route, sample plan and machine family without guessing from generic industry claims.
See Pneumatic Dot Peen Options
Review Laser Marking Machines
Ask For A Traceability Recommendation
Frequently Asked Questions
Is dot peen always better than laser marking for durable metal traceability?
No. The better method depends on the required permanence, surface finish, code size, scanner contrast, part access, takt expectations and whether the part can accept a physical indentation.
Can buyers ask for one universal depth or speed number when comparing dot peen and laser marking?
No. Depth, contrast and cycle time depend on the alloy, finish, mark content, code size, fixture stability, verification rule and the exact production workflow. Compare the real part family instead of generic claims.
When should a factory stop and resample instead of forcing the marking process through production?
Stop when indentation depth drifts, contrast drops, scanners fail, the mark zone shifts, the substrate finish changes, or the operator must compensate outside the approved sample boundary to keep the code readable.
What should a buyer send before asking CNMarking to recommend a metal traceability method?
Send part photos, substrate and hardness notes, mark content, required code size, downstream coating or heat exposure, scanner requirements, available marking area, production takt and any durability tests the mark must survive.