
Nameplate Marking Machine Guide: Materials, Depth and Fixtures
Industrial buyer guide
Nameplate Marking Machine Guide: Materials, Depth and Fixtures
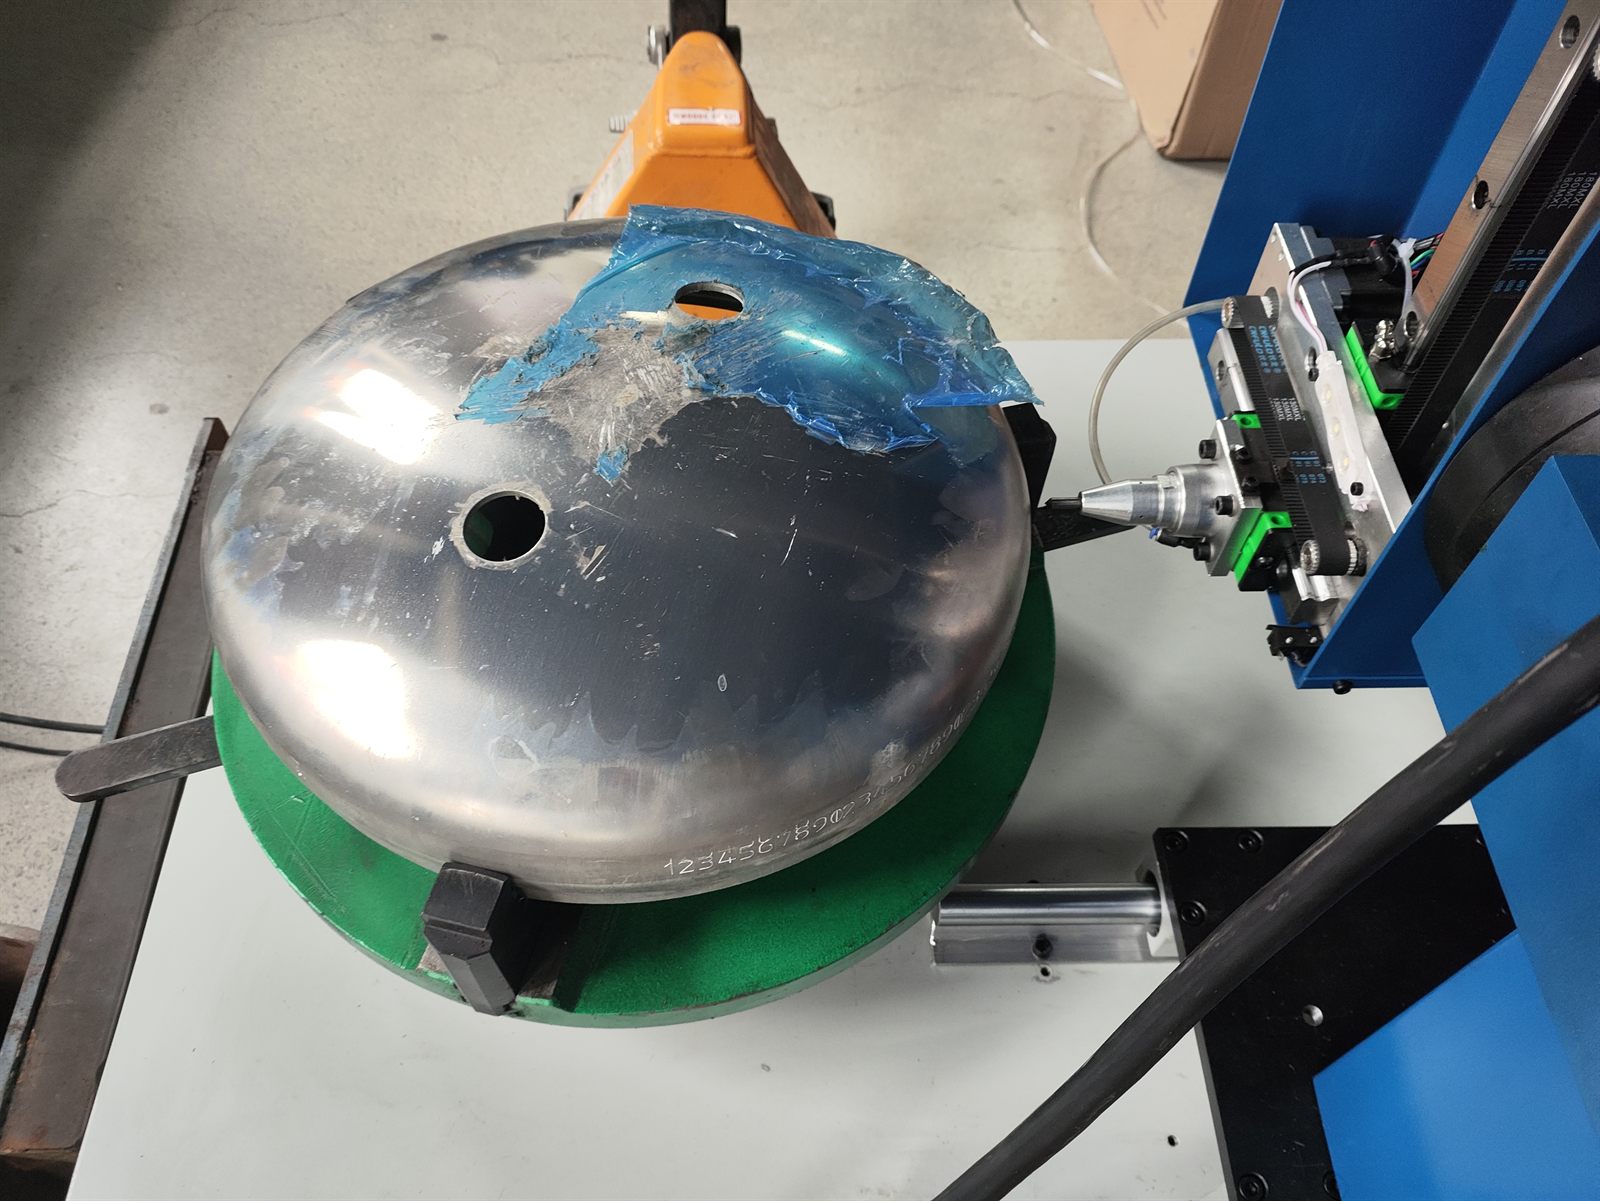
A nameplate marking machine is chosen by the job around it, not by a generic equipment label. Buyers usually need to balance plate material, required permanence, mounting method, readable depth, code density, fixture stability and production rhythm. When those variables are ignored, the project often looks easy on a sample coupon but becomes unstable once the real plate, bracket, coating or batch-change pattern appears on the line.
This B2B guide explains how to evaluate nameplate marking for metal plates, equipment labels, serial tags and permanent industrial identification. It stays practical: preparation inputs, material boundaries, depth decisions, fixture design, operating steps, quality checks, downtime risks and safety. It does not invent universal machine speeds, depths or settings because a reliable result depends on the actual plate family and the customer acceptance rule.
- What plate material, finish and thickness define the real marking window?
- Does the code need physical indentation, visible contrast, or both?
- Will the plate be riveted, welded, screwed, painted, coated or exposed outdoors after marking?
- Can the work be brought to a stable fixture, or must the head move to the workpiece?
- What sample boundary should stop the team from quoting a universal depth or speed number?
- Which quality and shutdown checks prevent rework or traceability failure in production?
1. Prepare The Real Plate Inputs Before Comparing Machines
The fastest way to choose the wrong nameplate machine is to treat every plate like the same flat metal coupon. Buyers should instead define the real production variables up front. A brushed stainless rating plate, an anodized aluminum serial plate and a painted equipment label do not behave the same way under the same process logic. The recommendation changes again if the plate is thin, already mounted, curved, coated after marking or expected to stay readable outdoors for years.
- List the true plate material: stainless steel, carbon steel, aluminum, brass or another alloy used in the customer product line.
- Define thickness and surface state, including coating, paint, brushing, polishing, anodizing or rough handling.
- Confirm the mark content: logo, serial number, model number, batch code, QR code, Data Matrix or a mixed identification block.
- Clarify the durability rule: visual readability, scanner readability, paint survival, abrasion survival or long-term outdoor traceability.
- Show how the plate is held during marking and after marking: loose plate, magazine feed, bench fixture, mounted panel or oversized assembly.
- State the real output rhythm and whether changeovers between multiple plate sizes happen often.
These inputs matter because the buyer is not only buying a machine. The buyer is approving a whole marking workflow. When the workflow changes between plate families, the safe process window changes too.
2. Material Choice And Marking Method Need Boundaries, Not Guesswork
Nameplate projects often sit between two practical routes. Dot peen is commonly chosen when the plate must keep a physically indented code after paint wear, field cleaning or rough handling. Laser marking is often chosen when the plate needs fine contrast, smaller graphics, cleaner edges or non-contact processing. Good selection does not mean declaring one route universally better. It means defining the boundary where each route fits the real plate family.
| Decision point | Dot peen nameplate route | Laser nameplate route | Buyer takeaway |
|---|---|---|---|
| Required result | Usually preferred when the plate needs an indented mark that stays legible after abrasion, repainting or hard service. | Usually preferred when the plate needs clean contrast, fine detail or a non-contact process on a suitable material and finish. | Choose by the approved durability and readability rule, not by a generic equipment preference. |
| Material and finish | Often chosen for heavier-duty metal plates where physical indentation is valuable. | Often chosen when the alloy and finish support visible contrast without overloading the part with contact force. | Material, finish and downstream handling decide the real process window. |
| Code density and aesthetics | Works well for durable text, serials and industrial ID where physical permanence matters more than a cosmetic finish. | Works well when buyers need cleaner logos, finer lines or smaller machine-readable codes on suitable surfaces. | The better route depends on what the plate must communicate and how that result is judged later. |
| Fixture sensitivity | Still depends on plate support, especially for thin plates or multi-size changeovers. | Also depends on part positioning, focus discipline and consistent handling of the chosen plate family. | No route becomes stable without an honest fixture and handling plan. |
For buyers comparing the two approaches in more detail, the related article Nameplate Engraving vs Dot Peen Marking is a good companion page. For buyers who already know they need a durable indented plate, the dedicated dot peen marking machine for nameplates page is the sharper commercial path.
3. Depth Selection Starts With The Inspection Rule
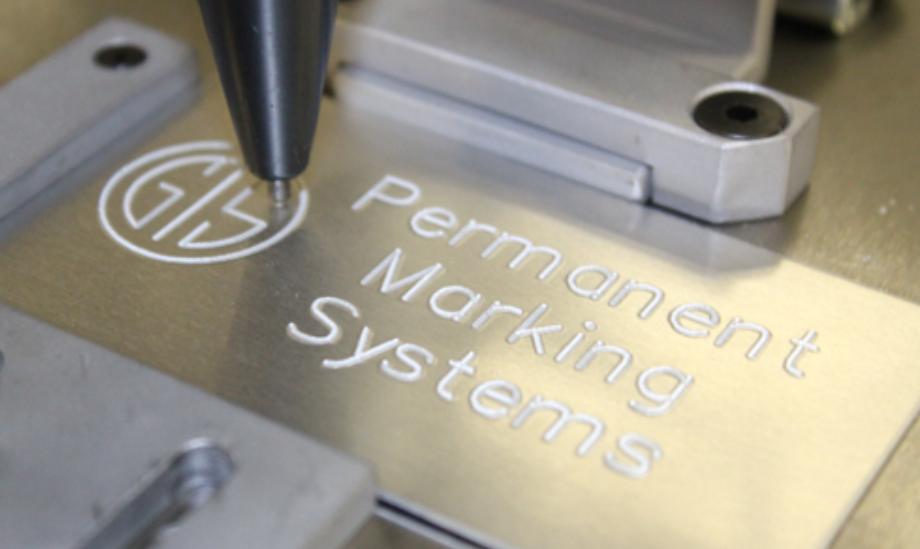
Buyers often ask for a universal depth target. That sounds precise, but it is usually the wrong question. The right question is what the mark must still achieve after handling, installation and service. A plate that stays inside a cabinet has a different durability need than a plate exposed to oil, brushes, vibration, repainting or outdoor weather. The depth boundary should therefore be defined from the inspection rule backward.
- Ask whether the code must remain readable after coating, oil, dirt, abrasion or field cleaning.
- Check whether the customer requires visual readability only or a more formal traceability proof.
- Define the minimum acceptable result and test the real plate instead of assuming one number fits every alloy and thickness.
- Document what would trigger a retest: thinner stock, a different finish, tighter code density or a different mounting surface.
This is also where sample discipline matters. The buyer should approve the process on the real plate family, not only on a convenient coupon that hides the true finish or handling risk. That protects both the supplier and the production team from quoting a depth claim that will not survive real use.
4. Fixtures Are Part Of The Machine Decision
In nameplate work, fixture design often separates stable production from slow manual adjustment. Thin plates can bounce, small plates can shift, and mixed batches can push operators into unsafe or inconsistent handling. A rigid, repeatable support method is therefore not an accessory. It is part of the nameplate marking system.
- Use stable backing and location stops when the plate is thin or when the mark sits close to the edge.
- Review how multiple plate sizes will change setup time and whether the fixture can be adjusted without losing repeatability.
- Check how the operator loads and unloads the plate so fingers, clamps and mark position do not conflict.
- For mounted plates or large panels, define whether the machine should come to the work or the work should come to the fixture.

If the project already points toward mechanical indentation, the main pneumatic dot peen marker page is where buyers should compare station-style options. If non-contact contrast is the likely route, the main fiber laser marking machine path is a better follow-up.
5. Recommended Workflow From Preparation To Shutdown
A strong buyer guide should explain how the machine is used in production, not only what it is called. The following workflow keeps the evaluation grounded in real operation.
- Prepare the real plate sample, plate drawing or clear photos with the intended content and location.
- Confirm the target material, finish, thickness and the durability rule the mark must satisfy.
- Set the plate in the approved support method and verify the operator can load it safely and repeatably.
- Run the first sample on the actual plate family and inspect readability, location and process stability before scaling output.
- During production, watch for drift in support rigidity, character spacing, visible depth, code density and operator compensation.
- At the end of the run, record the accepted sample condition, inspect wear points, clean the station and leave the machine in a safe stopped state for the next shift.
This workflow is especially important when nameplate jobs change often. Many failures come from rushed changeovers, not from the core machine technology.
6. Quality Checks That Protect Traceability
Quality checks must be visible and repeatable. A plate that looks readable at the first glance can still fail if the code crowding is wrong, the mark drifts near a hole or edge, or the required permanence disappears after installation handling. The quality plan should therefore state exactly what will be checked and how often.
| Check | What the team should verify | Why it matters |
|---|---|---|
| Location | The mark sits in the approved zone and respects clearances around edges, holes and mounting features. | Good content still fails if the plate cannot be read after assembly. |
| Readability | All characters or codes remain complete and readable under the approved lighting and inspection method. | Partial readability creates hidden traceability failures later. |
| Durability boundary | The mark still meets the expected result after the real handling or coating step tied to the application. | This prevents overclaiming depth or permanence from an unrealistic sample. |
| Changeover control | When the plate family or fixture changes, the first-off sample is rechecked instead of assumed safe. | Batch drift usually appears during changeovers, not during steady repetition. |
7. Downtime And Safety Must Be Part Of The Quote Discussion
A machine choice that ignores downtime and operator safety is incomplete. Buyers should ask how often the station will change over, how the plate is held, how consumable or wear checks are handled, and what happens when the validated sample no longer represents the next plate family. Those questions protect the production schedule and reduce the chance that operators keep pushing parts through an invalid process window.
- Review how the machine will be serviced and checked between batches.
- Define a clear stop-and-check rule when plate thickness, finish or readability shifts outside the approved sample boundary.
- Keep operator loading and unloading safe, especially when fixtures, clamps or heavy panels are involved.
- Record the last accepted sample and setup notes so the next shift does not restart blindly.
If you want a useful recommendation, send the real plate photo, material, thickness, finish, mark content, available area, durability requirement and expected output target. CNMarking can then suggest whether the stronger route is dot peen, laser or a different fixture strategy, and what sample boundaries should be tested before you buy.
FAQ
When is dot peen the better nameplate marking route?
Dot peen is often the better route when the nameplate needs a physically indented mark that stays readable after paint loss, abrasion, rough handling or outdoor service.
When is laser marking the better nameplate option?
Laser marking is often better when the buyer needs clean contrast, fine graphics, smaller codes or a non-contact process on a plate material and finish that can support that result.
Can a buyer approve one universal depth value for every nameplate job?
No. The approved depth depends on the plate alloy, hardness, thickness, coating, mounting method, content density, required durability and the customer inspection rule.
What should a buyer send before asking CNMarking for a nameplate recommendation?
Send plate photos, material, thickness, finish, mark content, available area, durability requirement, expected daily output and any fixture or mounting limitations.