How to Mark on Different Materials?
Marking on different materials is a vital element of manufacturing, crafting and industrial processes. From product identification to customizing items, proper marking ensures traceability, branding and quality control. However, not all surfaces require the same techniques or tools; therefore, this guide will explore efficient and accurate marking of various surfaces.
General Guidelines for Marking Different Surfaces
Proper marking techniques ensure durability, readability, and professional results across various materials. Whether you’re engraving metal, etching glass, or printing on plastic, follow these essential guidelines:
1. Clean and Prepare the Surface
When prepping surfaces for marking, make sure they are free from dirt, oil, rust, or anything that might hinder adhesion or clarity. For metal surfaces, use isopropyl alcohol,l while plastic needs mild detergent, whereas glasses and ceramic surfaces will need a lint-free cloth or similar for optimal cleanliness if crisp, long-lasting marks are desired.
2. Test Mark on Scrap Piece
Always conduct a trial mark first on similar materials so as to optimize settings like power, speed, and depth; this helps avoid costly errors on delicate or costly materials like anodized aluminum and tempered glass that might result in costly misfires or mistakes.
3. Select Marking Method Based on Material Hardness

Marking soft materials (plastic, wood, and leather) such as requires low-power lasers, ink-based printing, or gentle engraving with gentle pressure to avoid melting or warping of the surface material.
Steel, titanium, and ceramic materials require high-powered lasers, diamond scribing or other forms of abrasive treatment, such as sandblasting, to make deep permanent markings that leave lasting traces.
4. Consider Environmental Exposure
Will the marked surface face abrasion, chemicals, or outdoor conditions? Choose a marking method that withstands wear:
Laser engraving & chemical etching resist fading on metals.
UV-cured inks & epoxy coatings protect printed labels on plastics.
Sealants or clear coats help preserve markings on wood and painted surfaces.
5. Optimize for Readability
Use high-contrast marks (dark on light or vice versa).
Adjust font size and depth for small or curved surfaces.
Avoid over-engraving thin materials to prevent warping.
By following these steps, you’ll achieve precise, durable marks on any material while minimizing errors and rework.
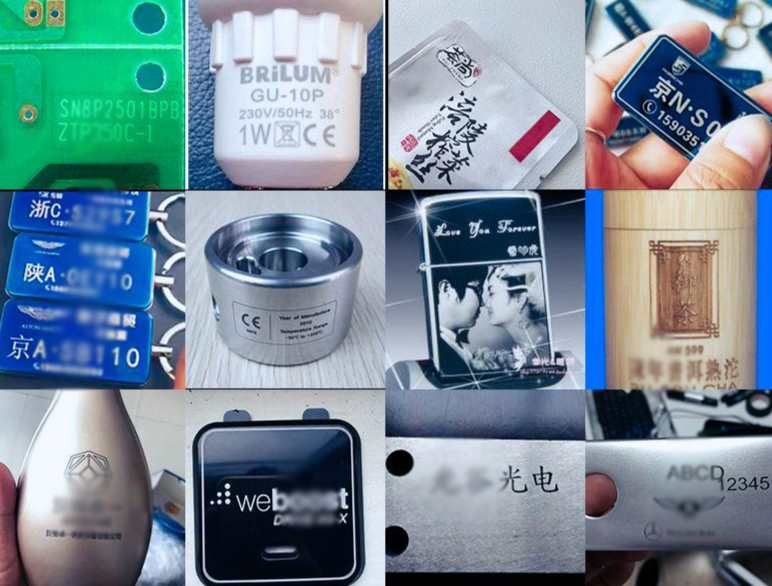
Choose the Different Marking Technology for Different Surfaces
Not all materials respond the same way to marking. Each has its own set of challenges—whether it’s hardness, reflectivity, heat sensitivity, or fragility. Selecting the right marking technology involves understanding these challenges and choosing a method that ensures clarity, durability, and efficiency. Here’s how different materials behave during marking and the best technologies for each:
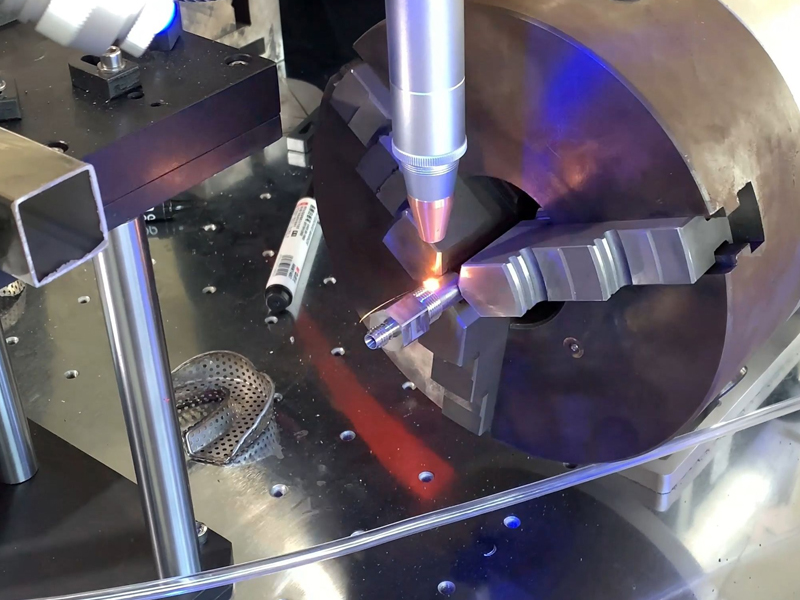
Metal
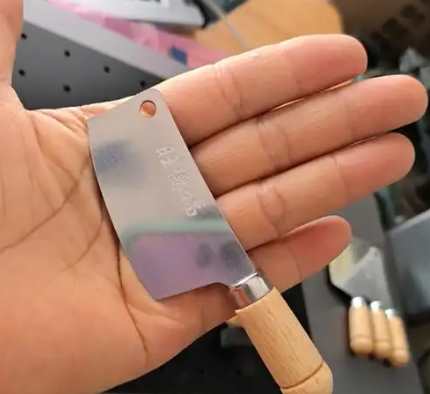
Metal is durable and features a reflective surface, which may make laser marking challenging for certain lasers to penetrate. Some metals also lack soft surfaces for shallow marking to be effective; as a result, some shallow marking methods become ineffective over time.
Best solutions:
- Fiber laser: Ideal for marking most metals quickly and precisely while producing high contrast marks quickly and precisely.
- Dot peen marking: Ideal for marking deep, durable marks in hard environments where visibility must remain apparent over time.
- Electrochemical Etching: Suited for stainless steel or similar materials when high precision is desired.
These methods can safely address both the hardness and reflectivity of metal surfaces, producing lasting marks without harming or deforming their material.
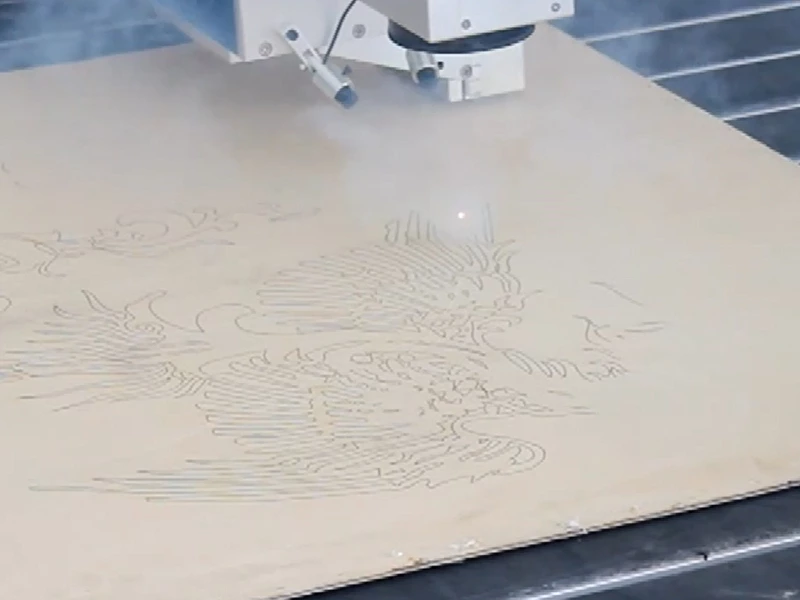
Wood
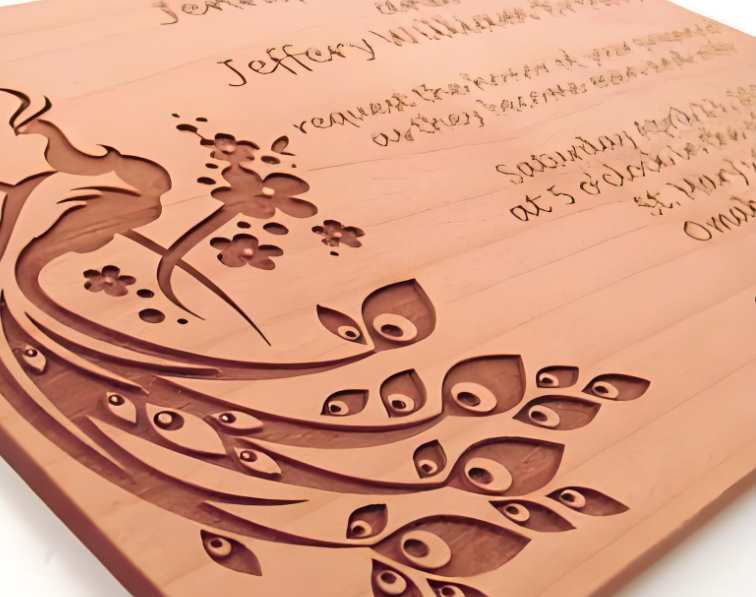
Wood has its own irregular surface characteristics that affect how marks show up on it, including variations in density and grain patterns that influence how easily an impression shows up on it. Soft or wet wood may even burn too quickly and produce poor-quality marks with uneven or subpar results.
- CO2 Laser Engraving: With its adjustable intensity and depth controls, laser engraving offers you more freedom in creating clean marks without burning through wood surfaces.
- Branding Iron: For something with more traditional charm, branding irons work great but are less precise.
Lasers allow for precise marking that highlights wood’s natural textures, while branding irons offer greater tactile impressions.
Plastic
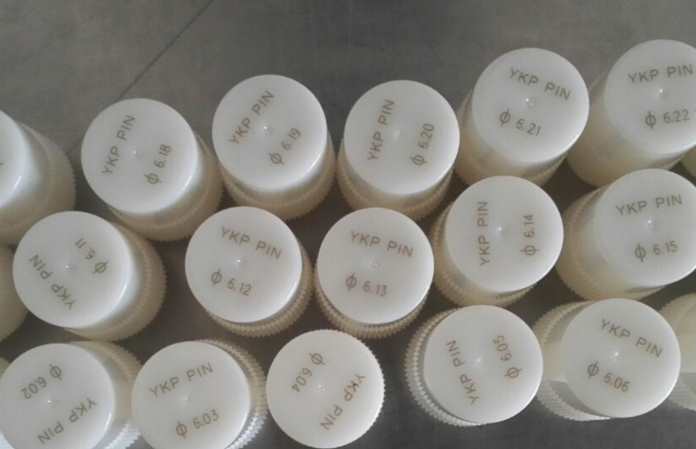
Plastics come in a wide range of compositions, and depending on the type, they can melt, discolor, or even release fumes when exposed to heat. Not all plastics are good at absorbing laser energy, so the marks may not always be as clear.
Best Marking Technologies:
- CO₂ Laser Marking: Effective for a variety of plastics, creating clean and readable marks without excessive heat.
- UV Laser Marking: Offers a more controlled process, perfect for plastics that can’t handle much heat.
- Inkjet Printing: A good choice for temporary marks or when you need to print high volumes quickly.
These technologies ensure you can mark plastics clearly without warping or discoloring the material, especially when you need precise or high-volume labels.
Glass and Ceramics
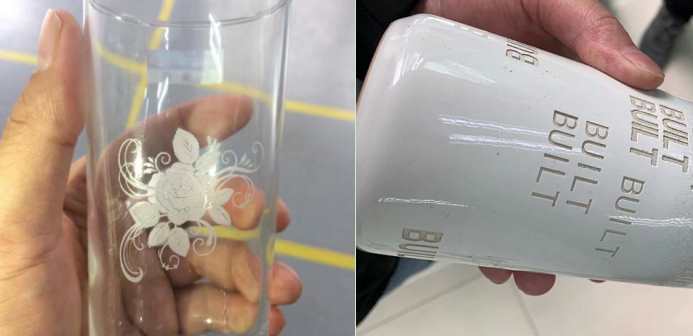
Glass and ceramic materials can easily crack under heat or mechanical pressure. In order to get an ideal mark without damaging the surface, this task calls for sensitive marking technologies that ensure minimal surface disruption during their process of marking process. Here are three such solutions that could prove invaluable here:
- UV Laser Marking: With their low heat output, UV lasers allow users to safely mark glass and ceramic materials without risk of cracks.
- CO2 Laser Marking: While CO2 lasers may work on these materials as well, careful adjustment must be made so as not to experience thermal shock when marking with them.
- Sandblasting: For an added textured or frost finish, sandblasting may provide the solution, though more labor-intensive.
UV lasers offer precision without thermal impact; CO2 lasers offer versatility when dealing with thicker glass or ceramic pieces, while sandblasting adds decorative flourish but may be harder to manage.
Leather and Textiles
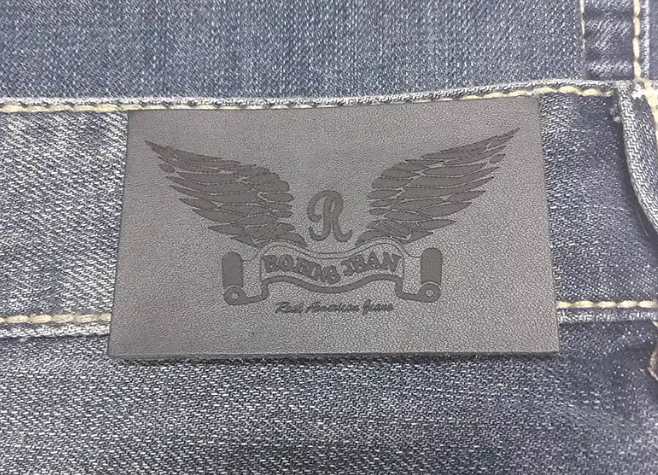
Leather and textiles can scorch or discolor when exposed to too much heat. Maintaining the material’s texture while getting a precise mark is essential, especially for high-end products.
- CO₂ Laser Engraving: Offers precise and clean engravings, leaving a subtle mark that enhances the material’s look.
- Embossing: Great for creating textured patterns without damaging the material.
- Screen Printing: Works well for larger designs or when you need to apply vibrant colors.
Lasers are ideal for detailed, precise work on leather and textiles. Embossing adds a premium touch, and screen printing is perfect for bold graphics.
Pro Marking Tips for Multi-Material Projects
Marking projects that involve multiple materials can be tricky, but with the right approach, you can achieve consistent and high-quality results. Here are five pro tips to make multi-material marking more efficient:
1. Assess Material Compatibility
To start off, the initial step should be assessing how different materials interact with your marking technology. Different materials require various settings (power, speed or frequency) in order to produce optimal results – metals may need higher power settings while plastics might require reduced power settings in order to prevent melting. Taking note of each material’s behavior under various marking conditions helps avoid mistakes that cost both time and wasteful material usage.
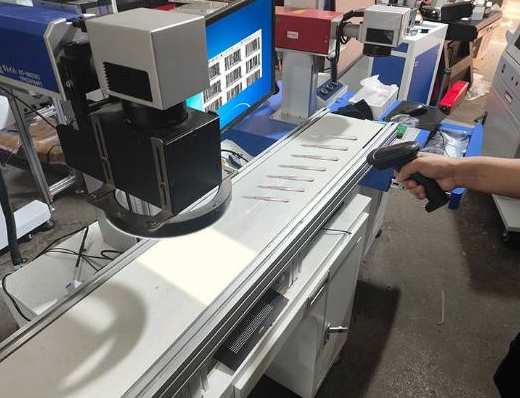
2. Select Marking Equipment with Adjustable Settings
For optimal marking results when working with multiple materials, invest in marking equipment featuring adjustable settings. Machines that allow quick changes of power levels, speeds, and focus sizes allow you to adapt more readily to various surfaces – for instance, laser systems can easily switch power levels depending on whether metals need fine-tuning versus more delicate materials like wood and plastics, for example.
3. Standardize Marking Designs
Consistency across materials is integral for producing professional results, so create universal marking templates or designs that can easily be applied across a variety of surfaces and materials. Make sure the size, font style, and positioning adapt seamlessly across materials so as to maintain an appealing uniform look.
4. Test Before Full Production
Before initiating full-scale production on any material, always conduct several preliminary tests first. Even subtle variations in material properties can have dramatic ramifications on how a mark appears, and this test allows you to fine-tune machine settings and minimize downtime during main processes; additionally, it gives an opportunity for any unexpected reactions, such as discoloration or surface damage, that might otherwise arise in production runs.
5. Make Use of Automation
Automation can make an enormous difference to high-volume multi-material marking. Automated marking systems quickly adjust settings according to materials, increasing both accuracy and efficiency while decreasing human errors across thousands of parts. So if your business handles large numbers of products, consider investing in automation for greater productivity!
Adhere to these tips, and you will consistently create smooth, efficient, and high-quality multi-material marking projects.
Summary
Choosing the right marking method depends on the material, durability needs, and desired aesthetics. Metals require laser or dot peen marking, while plastics benefit from UV or CO2 lasers. Wood and glass need gentler techniques like engraving or sandblasting. By following these guidelines and testing first, you can achieve clean, long-lasting marks on any surface.
For more expert tips, contact us at any time!
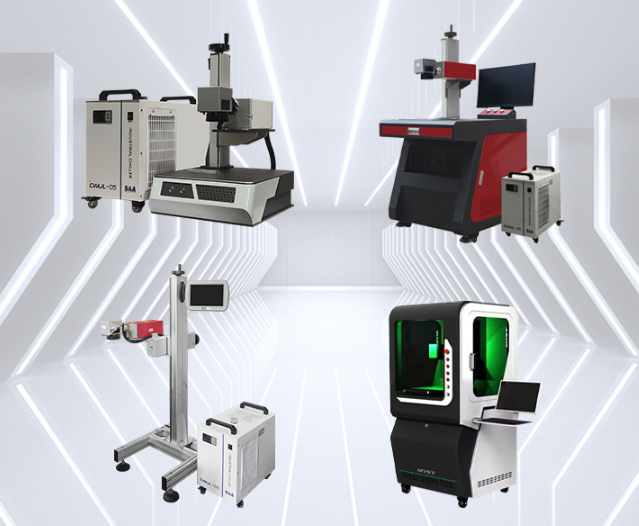
Recommended Products